Service Precautions01-9
|
General Information01-1
Service Precautions01-9 |
Service Precautions01-9
4WD model Information
The 4WD CR-V does not have the feature that mechanically switches between 4WD (four-wheel drive) and 2WD (front-wheel drive).
Do not drive the vehicle with rear wheels on the ground even though the front wheels are off the ground. The front wheel power is conveyed to the rear wheels, and the vehicle will start off.
Always lift the vehicle up so all four wheels are off the ground when troubleshooting, testing and inspecting the vehicle to rotate the wheels.
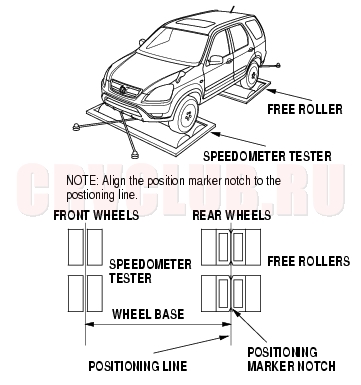
Use the free rollers under the rear wheels when performing test the vehicle with the speedometer tester.
Precautions on using free rollers:
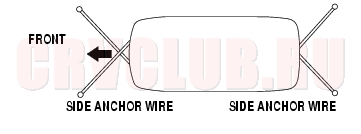
Inspecting and testing using a chassis dynamometer is not feasible. Do not operate the accelerator pedal, brake pedal or steering wheel abruptly. It may cause the vehicle to roll and create a hazardous condition. The maximum testing speed should be 50 km/h (31 mph). The maximum continuous operating time should be 3 minutes. Make sure to tie down the vehicle securely with the side anchor wires. The free rollers are to be set under the rear wheels.
Speedometer Testing Procedures
- Set the free rollers according to the wheel base and tread of the vehicle.
- Move the vehicle to position the front wheels on the speedometer testers and the rear wheels on the free rollers. Make sure to align the center of the wheels to the center of the speedometer testers and the free rollers.
- Tie down the vehicle securely using the towing hooks to prevent the vehicle from rolling off or over the free rollers.
- Start the engine, shift the transmission to 3rd gear (manual transmission) or to [D] position (automatic transmission), accelerate the vehicle gradually, and measure the vehicle speed.
- After measurement, use the brake pedal to gradually decelerate and stop the vehicle.
Service Precautions (cont'd)01-10
General
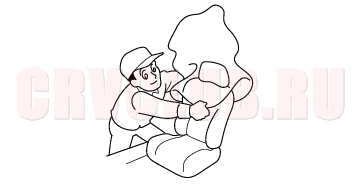
Protect all painted surfaces and seats against dirt and scratches with a clean cloth or vinyl cover.
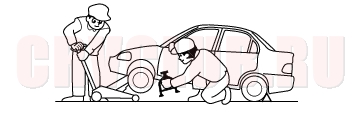
Work safety and give your work your undivided attention. When either the front or rear wheels are to be raised, block the remaining wheels securely. Communicate at frequently as possible when work involves two or more workers. Do not run the engine unless the shop or working area is well ventilated.
Before removing or disassembling parts, they must be inspected carefully to isolate the cause for which service is necessary. Observe all safety notes and precautions and follow the proper procedures as described in this manual.
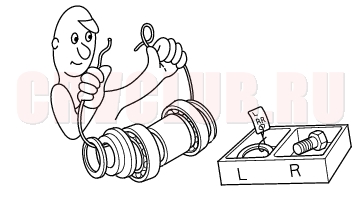
Mark or place all removed parts in order in a parts rack so they can be reassembled in their original places.
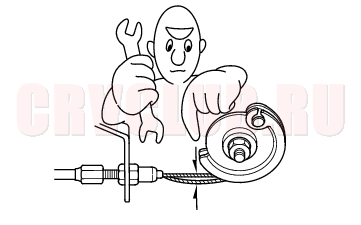
Use the special tool when use of such a tool is specified.
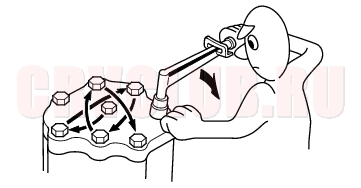
Parts must be assembled with the proper torque according to the maintenance standards established. When tightening a series of bolts or nuts, begin with the center or large diameter bolts and tighten them in crisscross pattern in two or more steps.
01-11
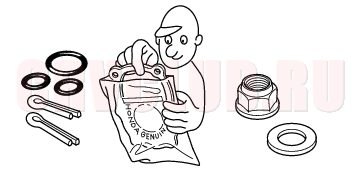
Use new packings, gaskets, O-rings and cotter pins whenever reassembling. Do not reuse parts that must be required to replace. Always replace them.
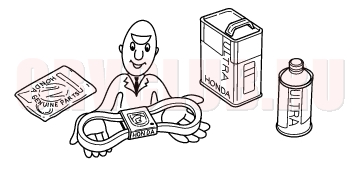
Use genuine HONDA parts and lubricants or those equivalent. When parts are to be reused, they must be inspected carefully to make sure they are not damaged or deteriorated and are in good usable condition.
Coat or fill parts with specified grease as specified (see page 03-2) . Clean all removed parts with solvent upon disassembly.
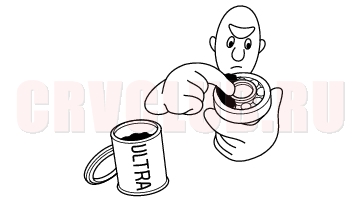
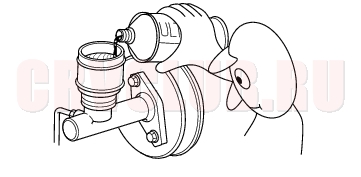
Brake fluid and hydraulic components
When replenishing the system, use extreme care to prevent dust and dirt from entering the system. Do not mix different brands of fluid as they may not be compatible. Do not reuse drained brake fluid. Because brake fluid can cause damage to painted and resin surfaces, care should be taken not to spill it on such materials. If spilled accidentally, quickly rinse it with water or warm water from painted or resin surfaces. After disconnecting brake hoses or pipes, be sure to plug the openings to prevent loss of brake fluid. Clean all disassembled parts only in clean BRAKE FLUID. Blow open all holes and passages with compressed air. Keep disassembled parts from air-borne dust and abrasives. Check that parts are clean before assembly.
Avoid oil or grease getting on rubber parts and tubes, unless specified. Upon assembling, check every part for proper installation and operation.
|
General Information01-1
Service Precautions01-9 |